Feeling confused by that jumble of wires? Here’s how to make sense of your thermostat installation when the colors and letters don’t match up.
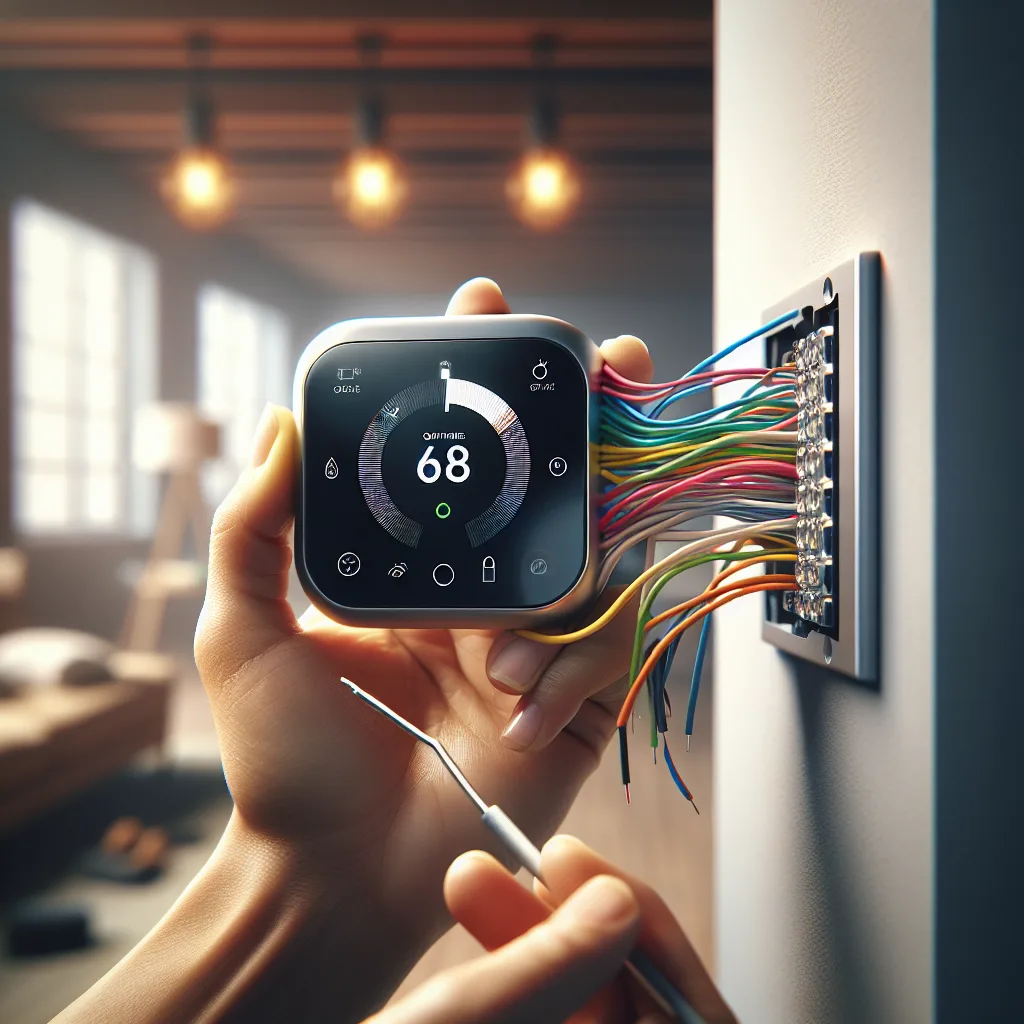
You just bought a shiny new smart thermostat. You’re excited for the convenience, the energy savings, and the satisfying feeling of a successful DIY project. You pop the old one off the wall, feeling confident. Then you see it: a jumble of colorful wires that looks nothing like the diagram in the app. If you’ve ever felt that small moment of panic, you’re not alone. My recent upgrade felt less like a simple swap and more like a puzzle, but figuring out the tricky smart thermostat wiring is totally doable.
It’s a common story. You take a picture of your old setup, carefully label each wire, and expect the new thermostat to have a perfectly matching set of terminals. But what happens when the app tells you your wiring combination is invalid, or worse, you hook it up and your AC starts blowing hot air? It’s frustrating, but it’s usually not a sign of a faulty thermostat. It often comes down to one or two wires that serve a different purpose than their color suggests, especially if you have a heat pump.
Decoding Your Smart Thermostat Wiring
Before you can troubleshoot, it helps to know what you’re looking at. While wire colors aren’t universally standardized, they often follow a common convention. Think of it as a loose guide, not a strict rule.
- R, Rh, Rc: This is your power wire, usually red. R is the standard for 24-volt power. If you have separate heating and cooling systems, you might have Rh (power for heat) and Rc (power for cool). Most modern thermostats just need one R connection.
- C – The “Common” Wire: This wire, often blue or black, provides continuous power to your thermostat, which is essential for Wi-Fi and the screen. Many older thermostats didn’t need it, so you might find it tucked away in the wall. A missing C wire is a very common installation roadblock.
- G: This is for the fan, and the wire is typically green. It tells your system to blow air through the vents, even when heating or cooling isn’t active.
- Y or Y1: This wire controls your cooling system (your air conditioner’s compressor). It’s usually yellow.
- W or W1: This is for your heating system. It’s almost always a white wire.
This all seems straightforward enough, right? But then there are the outliers—the wires that make you scratch your head. For a deeper dive into all the potential terminals, you can check out this helpful guide from Honeywell Home.
The Big Twist: What is the O/B Wire?
Here’s where many DIY installations hit a snag. In my case, I had an orange wire in the W1 (heat) terminal on my old thermostat. But the new app wouldn’t accept that configuration. After some trial and error, I discovered that orange wire actually belonged in a terminal labeled “O/B.”
So what is this O/B terminal, and why is it so important for smart thermostat wiring?
The O/B terminal is used for heat pumps. A heat pump is a super-efficient system that works as both an air conditioner and a heater. In the summer, it moves heat from inside your home to the outside. In the winter, it reverses the process, extracting heat from the outside air and moving it inside.
The O/B wire controls the “reversing valve,” which is the part that switches the heat pump between cooling mode (the “O” standard for most brands) and heating mode (the “B” standard). As the U.S. Department of Energy explains, this valve is what makes a heat pump different from a traditional furnace and AC combo.
If your old thermostat was set up for a “conventional” system, it might have used a non-standard wire color (like my orange wire) for a function it didn’t technically support. A modern smart thermostat, however, correctly identifies this as a heat pump function and requires the wire in the O/B slot.
The Final Test for Your Smart Thermostat Wiring
So, you’ve moved a wire to the O/B terminal, and the app finally lets you proceed. Your system seems to be working. Should you be concerned?
Probably not! If you’ve made the switch and your system is behaving as expected, you’ve likely solved the puzzle. Here’s a quick checklist to be sure:
- Test the Cool Mode: Set the thermostat to COOL and lower the temperature. Does cool air come out of the vents?
- Test the Heat Mode: Set it to HEAT and raise the temperature. Do you feel warm air?
- Test the Fan: Set the fan to ON. Does the blower run without any heating or cooling?
If you can answer “yes” to all three, congratulations! You’ve successfully navigated the confusing world of thermostat wiring. You didn’t just match colors; you understood the function behind the wires. And that’s a DIY win worth celebrating. If anything feels off, don’t hesitate to call a professional HVAC technician. It’s always better to be safe and ensure your system is running correctly and efficiently.