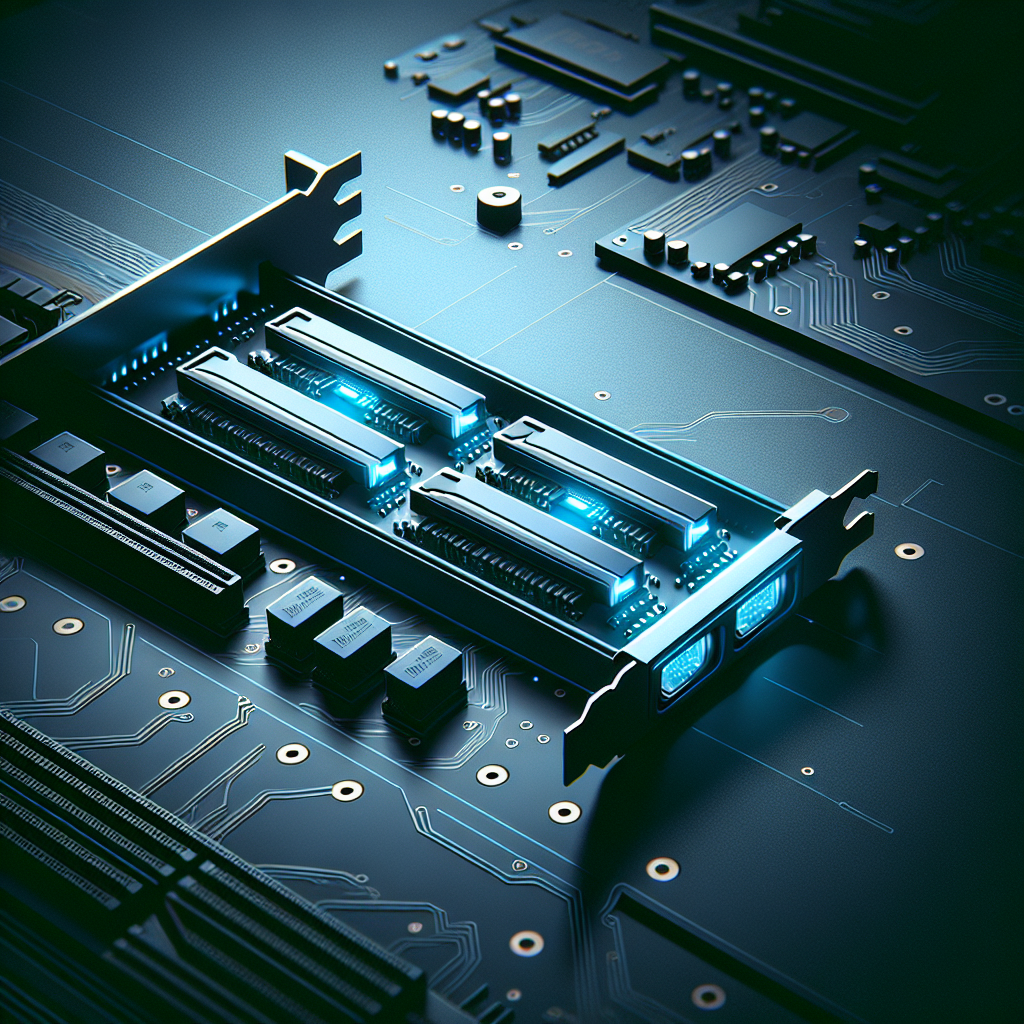
So, you got your hands on one of those cool PCIe adapters. You know the kind—it takes a single slot on your motherboard and magically turns it into a home for two speedy NVMe drives. It seems like a perfect, simple upgrade. You slot it in, pop in your drives, boot up your machine, and… only one drive shows up.
If this is you, don’t panic. Your adapter probably isn’t broken, and your motherboard isn’t necessarily faulty. I’ve been there, staring at the screen, wondering what I missed. More often than not, the culprit is a little-known BIOS setting called PCIe bifurcation.
What is PCIe Bifurcation, Anyway?
Let’s break it down. Your motherboard’s PCIe slot—that long slot you use for graphics cards and other expansion cards—is essentially a high-speed data highway. A full-size x16 slot has 16 lanes for data to travel on.
Normally, the motherboard expects all 16 of those lanes to go to a single device, like a powerful graphics card. But your dual NVMe adapter needs to do something different. It needs to “bifurcate,” or split, those lanes. It wants to take the 16 lanes and divide them into two smaller groups, like x8x8, or maybe split an x8 slot into x4x4 for two drives. Each NVMe drive needs its own dedicated set of lanes (usually four) to talk to the computer.
Without telling your motherboard to split this pathway, it just sends all the data down the first path it sees, completely ignoring the second drive. It’s like a highway with two exits, but the sign for the second exit is missing. The motherboard simply doesn’t know it’s there.
The First Step: Diving into the BIOS
The fix usually lives in your computer’s BIOS or UEFI menu. This is the setup screen you can access right when your computer starts, typically by pressing a key like Delete, F2, or F12.
Once you’re in, you need to go hunting. The setting is often buried in a section related to “Onboard Devices,” “Advanced Settings,” or “PCIe Configuration.” It won’t always be in the same place—every motherboard manufacturer likes to hide it somewhere different.
What you’re looking for is an option that controls the configuration of a specific PCIe slot. It might be labeled:
- PCIe Bifurcation
- PCIe Lane Configuration
- IOU Settings (This is common on server boards, like the Supermicro X10DRI mentioned in a forum post I saw).
You’ll typically see options like x16, x8x8, or x4x4x4x4. If you have a dual-drive adapter in an x8 slot, you’ll want to set it to x4x4. If it’s in an x16 slot, you might need x8x8 or x4x4x4x4 depending on the adapter and the slot’s capabilities.
For many people, finding this setting and changing it from the default (x8 or x16) to x4x4 is all it takes. You save the settings, reboot, and voila—your second drive appears.
When It Still Won’t Work: Other Things to Try
But what if you did that, and it still doesn’t work? This is where the real head-scratching begins. I’ve seen this happen, too. Here are a few other things to check.
1. Did You Pick the Right Slot?
Not all PCIe slots are created equal. On many motherboards, only the primary or secondary PCIe slots—the ones physically wired to the CPU—can actually bifurcate. The other slots, which are often controlled by the chipset (the motherboard’s secondary brain), might not have this capability. Check your motherboard’s manual. It should have a block diagram that shows which slots are connected to the CPU and which are connected to the chipset. Try moving the card to a different physical slot, preferably the main one usually reserved for a GPU, just to test if it works there.
2. Are There Other Hidden BIOS Settings?
Sometimes, changing the bifurcation setting isn’t enough. On some boards, especially server-grade ones, you might need to change another setting called “Option ROM” or “Legacy Boot” settings for that specific PCIe slot. Try setting the slot’s Option ROM to “UEFI Only.” This can sometimes help the system properly initialize the card and the drives on it.
3. Is Your Hardware Compatible?
This is the frustrating reality: not all motherboards support bifurcation, even if they seem to have the setting in the BIOS. It requires physical support on the board itself. And some cheap adapters might not be fully compliant or work well with all motherboards. Before you buy, it’s always a good idea to search for your specific motherboard model plus “PCIe bifurcation” to see if other people have had success.
4. Update Your BIOS
It sounds simple, but a BIOS update can solve a world of weird problems. Manufacturers often release updates that improve compatibility with new hardware. If you’re running on an old BIOS version, it’s worth checking the manufacturer’s support page for a newer one. The fix for your problem might just be a download away.
Getting these adapters to work can sometimes feel like a puzzle. But it’s usually solvable. Start with the bifurcation setting, then move on to checking the physical slot and other related BIOS options. With a little patience, you can get both of those drives running and enjoy that sweet, sweet NVMe speed.